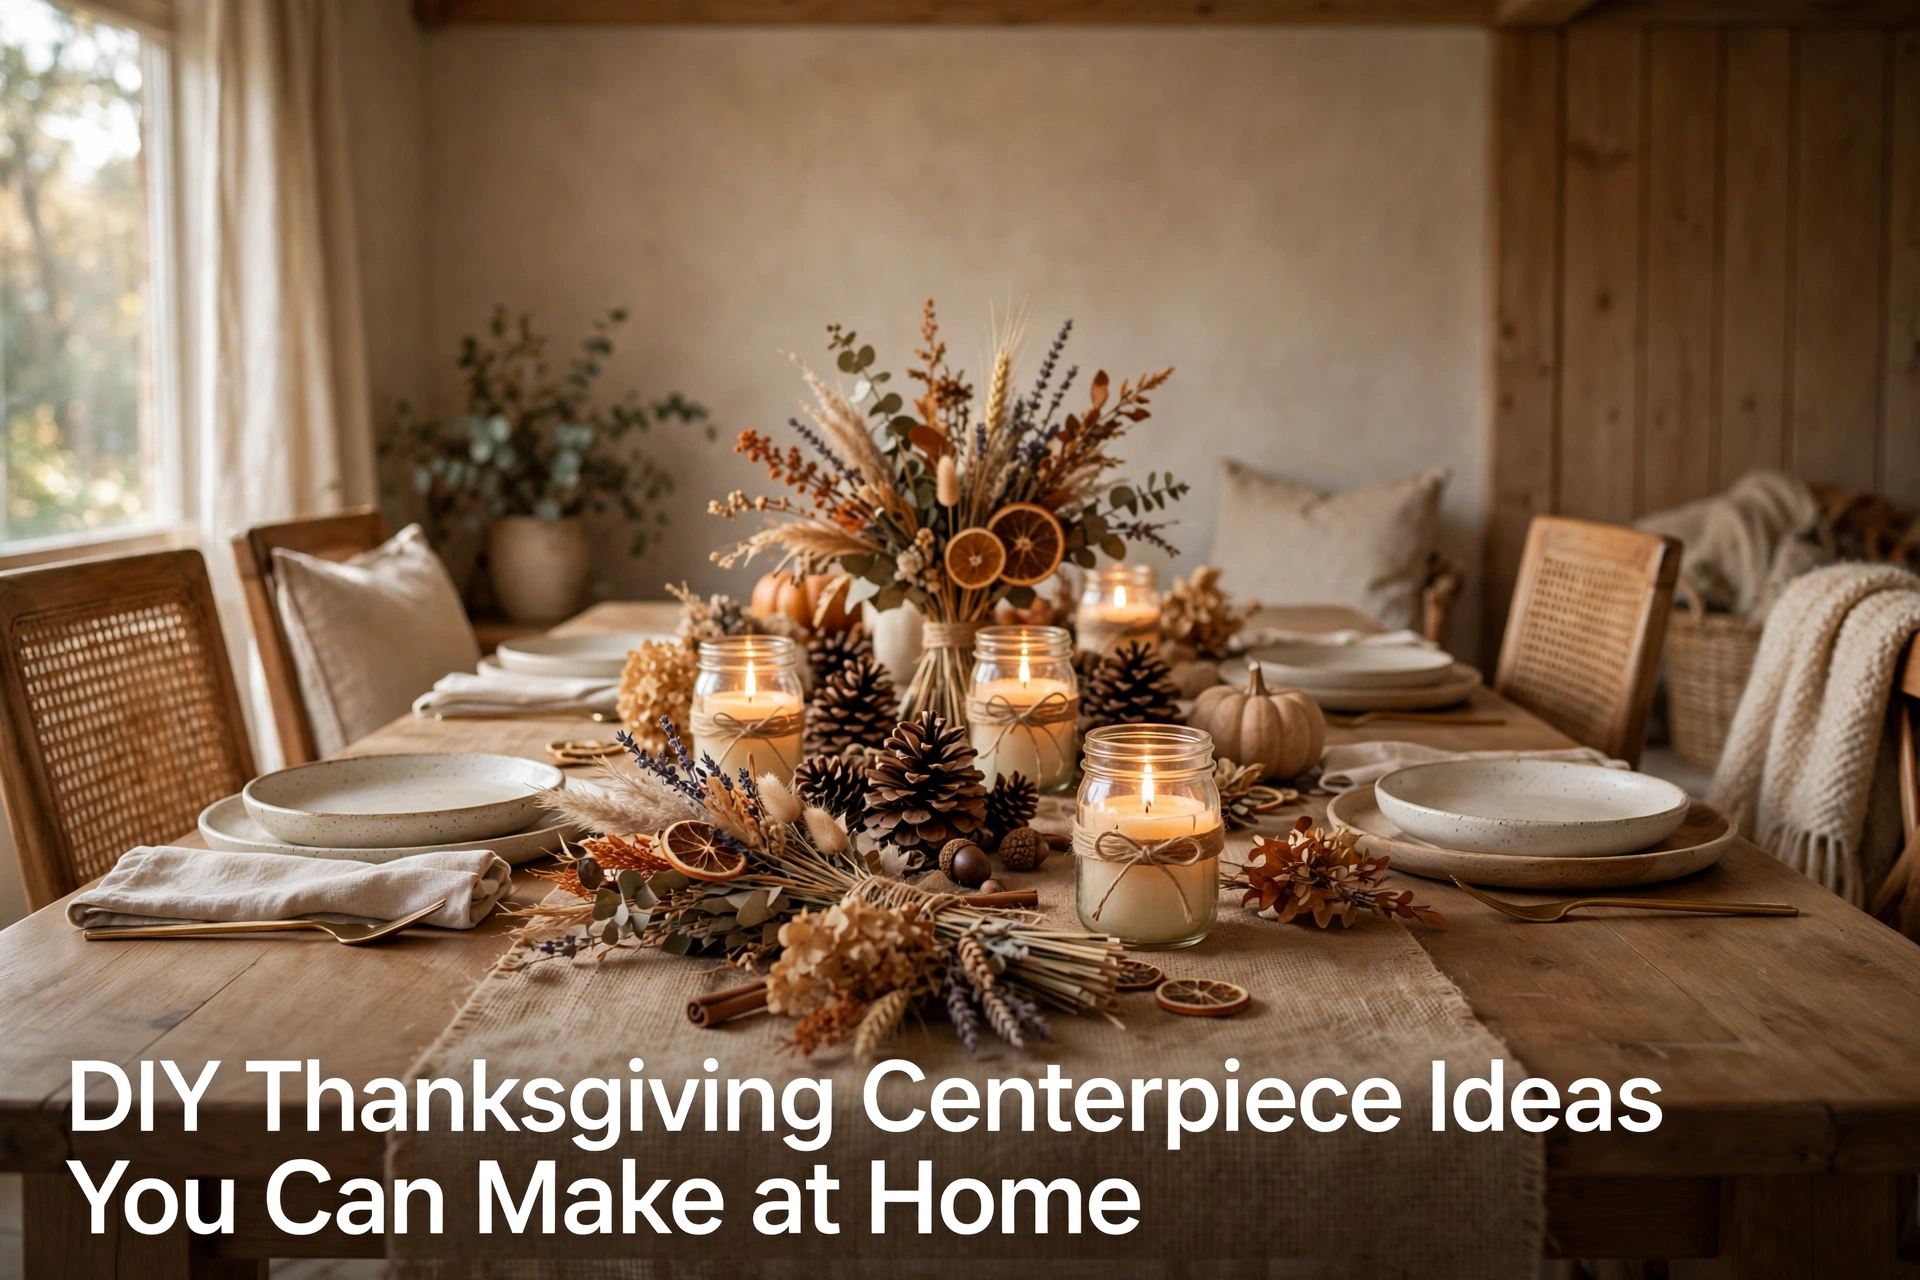
The store-bought centerpiece never quite matches the vision in your head. It is either too formal, too expensive, or too generic for your actual table.
These diy thanksgiving centerpiece ideas solve that frustration with projects you can genuinely make at home. Each one uses affordable materials and basic skills.
You will work with natural textures, simple tools, and things you may already own. The result feels personal because it is.
In this post you’ll find:
- Simple jar-based centerpieces using candles and beautiful natural fillers
- Low-profile designs that keep conversation flowing easily across tables
- Personalized place markers that double as truly charming guest favors
- Budget-friendly table runners you can easily craft in an afternoon
- Harvest-inspired arrangements with pinecones, wheat, and lovely dried florals
- Quick assembly projects for all your last-minute holiday decorating needs
Step 1: Gather Natural Materials First
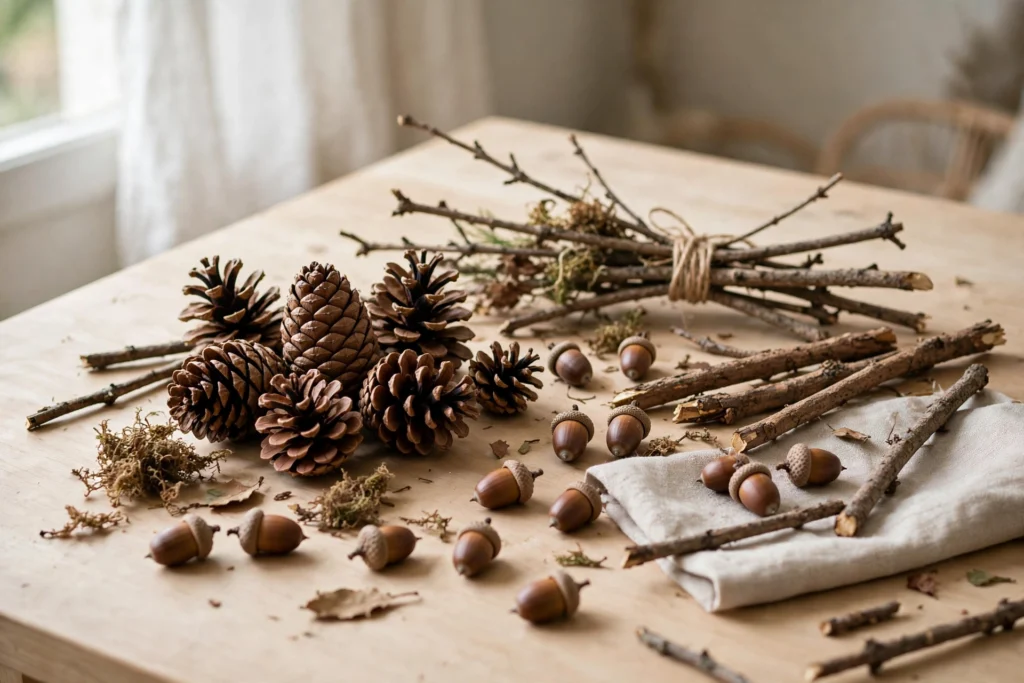
Start by collecting what nature offers for free. Pinecones, acorns, dried leaves, and interesting branches form the backbone of most DIY centerpieces.
A walk through your yard or a local park yields plenty. Look for varied shapes and sizes that create visual interest when grouped together on the table.
Clean everything gently and let it dry completely. Damp materials mold quickly indoors.
Step 2: Create Mason Jar Candle Holders
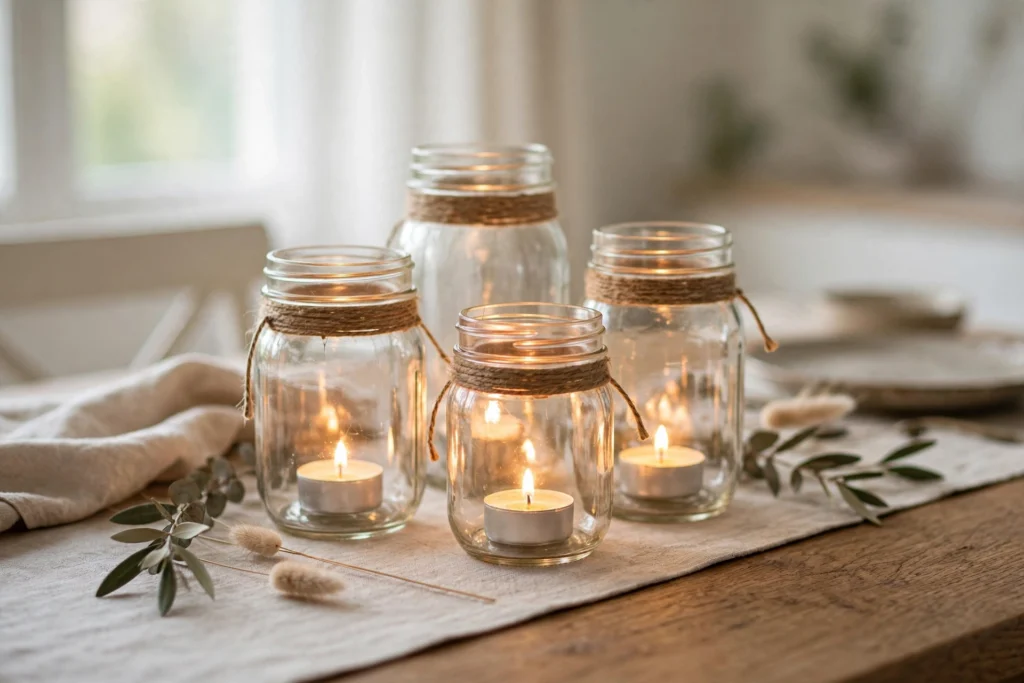
Empty jars become glowing centerpieces with minimal effort. These mason jar candle holders wrapped in twine cast beautiful textured light.
Wrap the middle with jute twine and secure with glue. Drop in a tea light and watch the glass glow. This echoes popular thanksgiving table decor ideas for handmade warmth.
Make several in different jar sizes. Odd numbers look best grouped together.
Step 3: Build a Burlap Table Runner
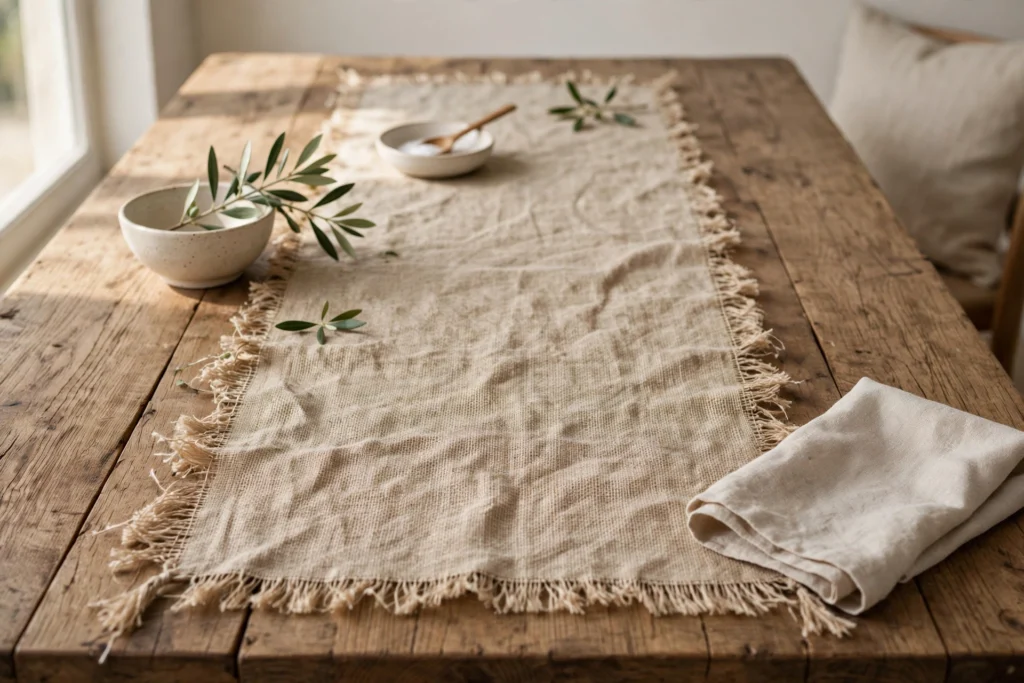
A handmade runner instantly customizes your table length. This burlap table runner costs little and adds wonderful rustic texture.
Cut burlap to your table length plus a twelve-inch overhang on each end. Fray the edges slightly by pulling threads for a soft, handmade finish.
No sewing required. The raw edges are part of the charm and style.
Step 4: Arrange Dried Flower Bundles
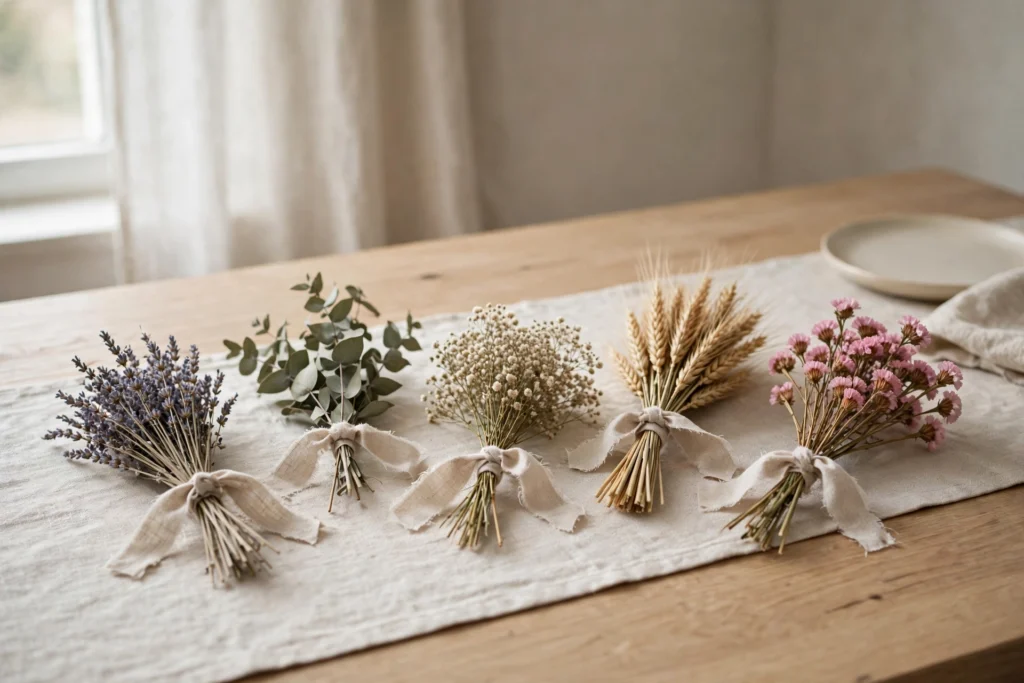
Dried flowers offer everlasting beauty without wilting worries. Small dried flower bundles tied with ribbon make charming mini centerpieces.
Choose wheat, lavender, and strawflower for autumn colors. Bind stems tightly with twine, then add a ribbon bow for polish.
Stand them in small vases or lay flat along the runner. They last for months.
Step 5: Paint Mini Pumpkins
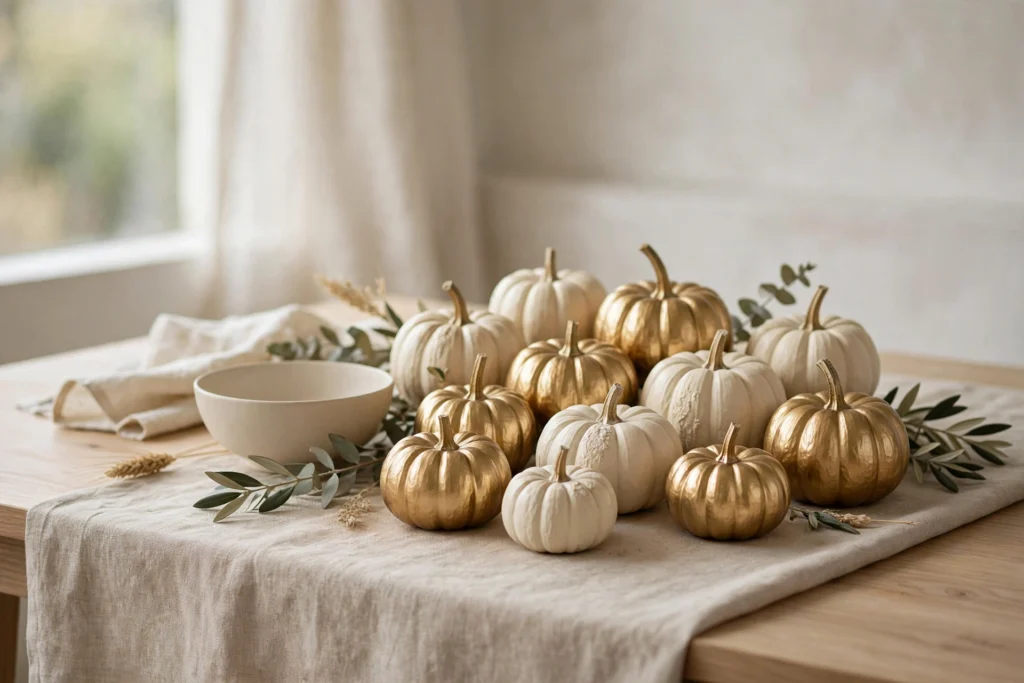
A little paint transforms ordinary gourds into custom decor. These painted mini pumpkins in metallic or matte tones look surprisingly sophisticated.
Use chalk paint for a velvety finish that needs no primer. Gold, copper, or cream all work beautifully against natural table linens and greenery.
Let each coat dry fully before handling. Two thin coats beat one thick coat.
Step 6: Craft Paper Leaf Garlands
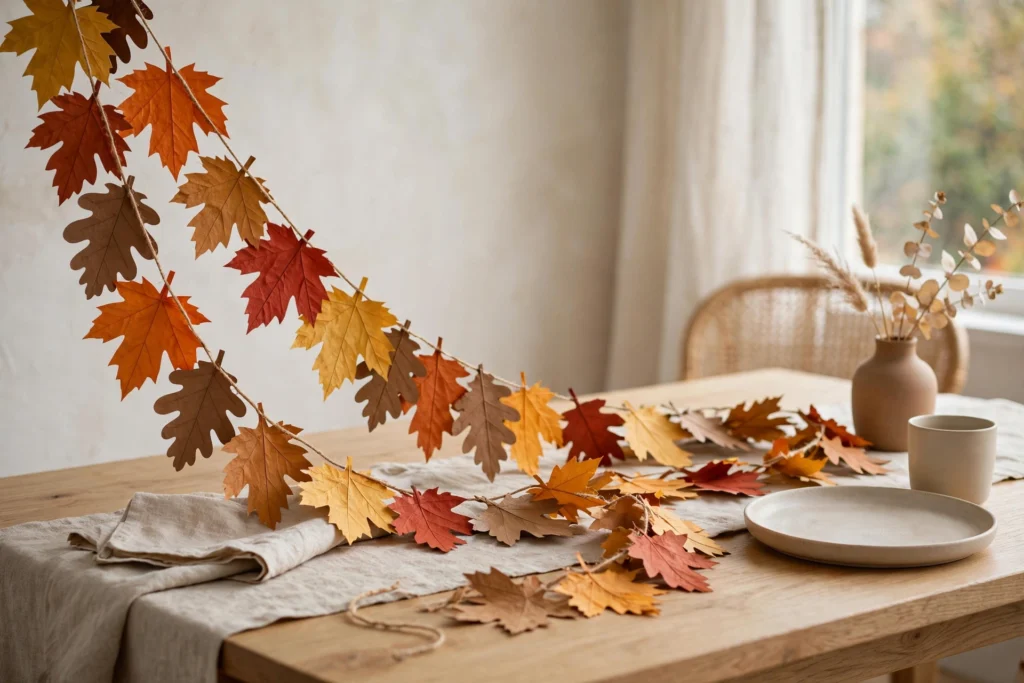
Paper crafts keep little hands busy before dinner. A paper leaf garland strung across the table adds handmade charm.
Cut leaf shapes from cardstock in fall colors. String them on twine with small clothespins or glue dots for a festive swag.
Kids love helping with this one. Their imperfect cuts add character and joy.
Step 7: Fill Wooden Boxes with Harvest
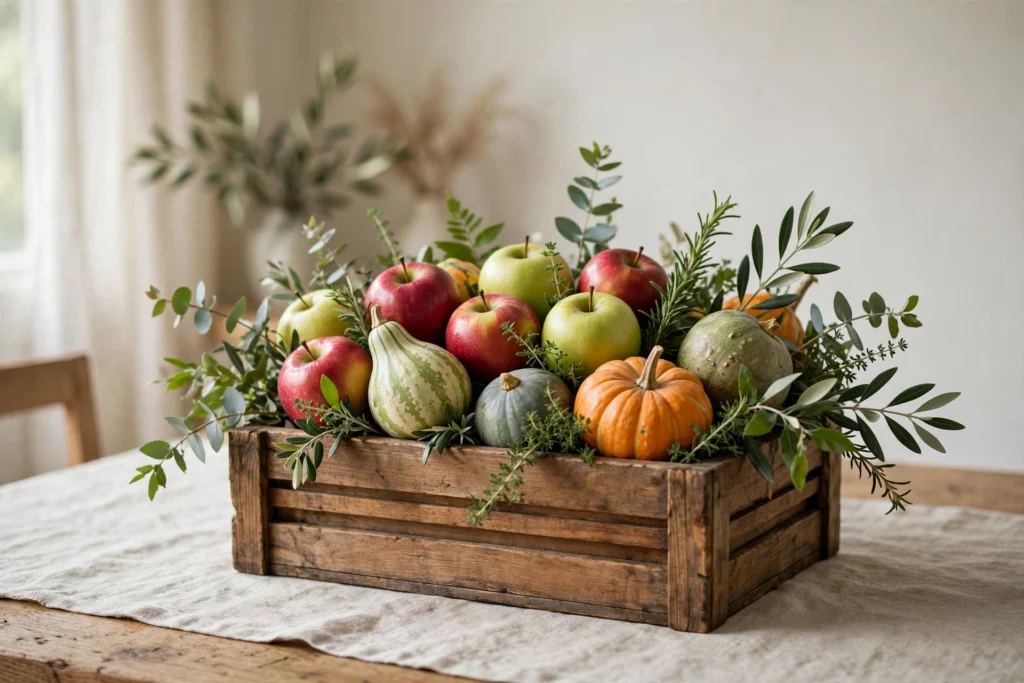
Repurposed containers make the best centerpiece bases. A wooden box filled with harvest goods creates an abundant, generous feeling.
Line any wooden crate with fabric. Fill with apples, gourds, nuts, and greenery for a cornucopia effect. This generous style complements many diy fall decorating projects beautifully.
Vary heights within the box for dimension. Tuck moss in gaps to hide mechanics.
Step 8: Make Beeswax Taper Candles
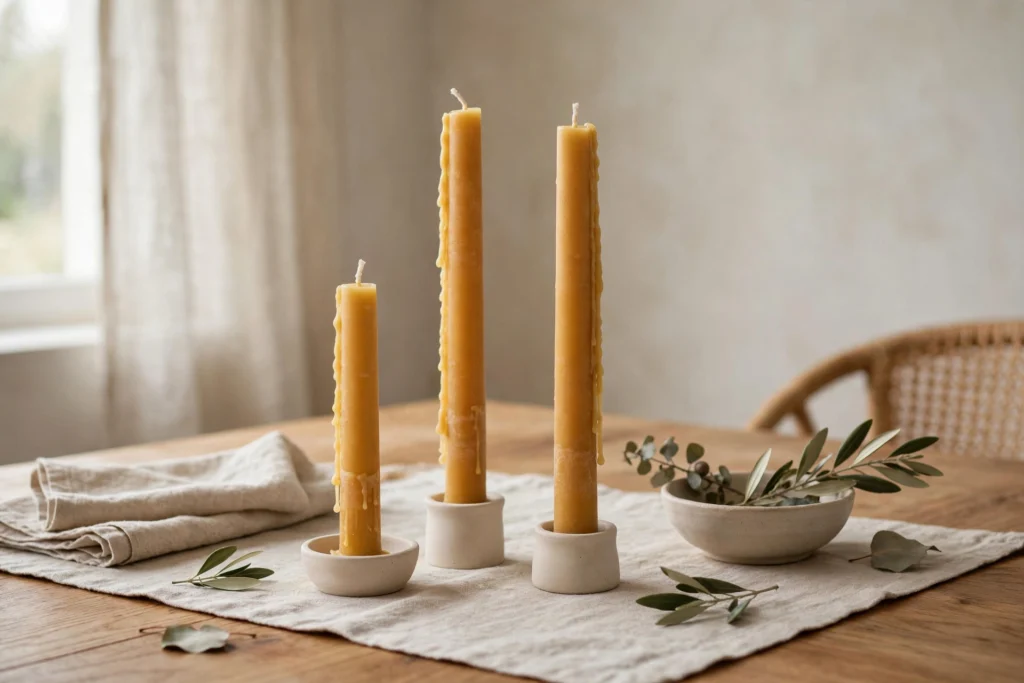
Hand-dipped candles burn longer and look artisanal. These beeswax taper candles add warm honey tones to your table.
Melt beeswax and dip cotton wicks repeatedly, cooling between dips. The process is meditative and the results smell wonderful.
Start early; they need hours to build thickness. Patience yields beautiful candles.
Step 9: Design Personalized Place Cards

Handwritten names make every guest feel special. These personalized place cards tucked into pinecones are simple yet thoughtful.
Write names on kraft paper tags with a metallic pen. Wedge each tag into a pinecone or clip to a sprig of rosemary.
Guests can take them home as favors. Double-duty details save time and money.
Step 10: Weave a Wheat Sheaf
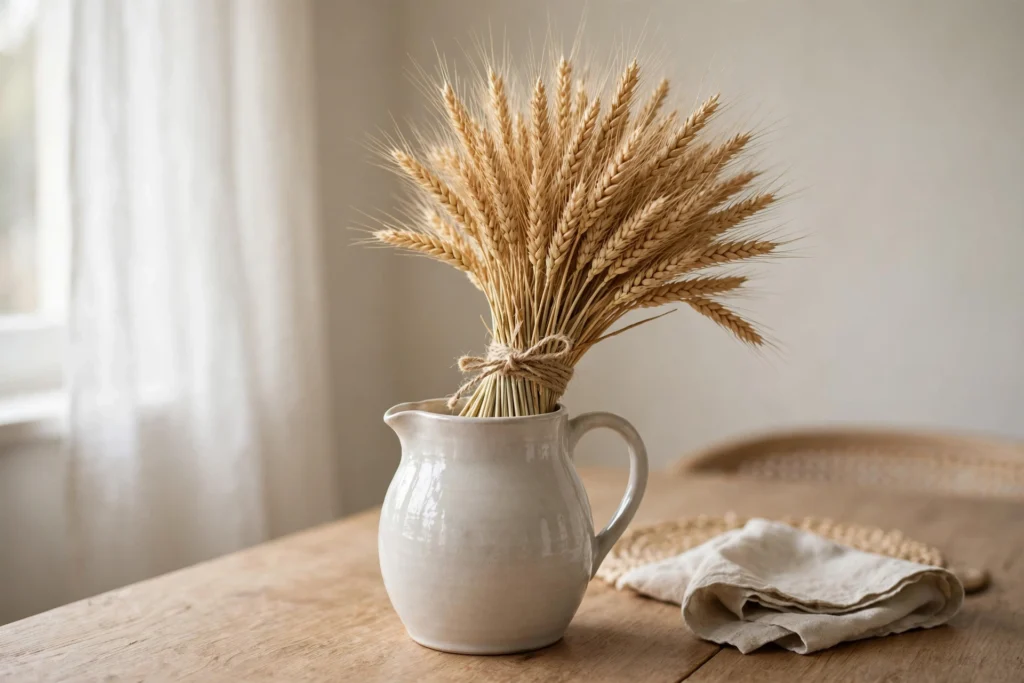
Wheat symbolizes abundance across cultures. A hand-tied wheat sheaf standing in a pitcher makes a stunning focal point.
Gather stems into a full bundle and tie firmly with raffia. Fan the tops outward for a full, architectural shape that commands attention.
Place it where guests enter for maximum impact. First impressions matter most.
Step 11: Stencil Linen Napkins

Plain napkins become custom with simple stenciling. These stenciled linen napkins featuring leaf motifs feel personal and polished.
Use fabric paint and a leaf stencil on one corner. Heat-set with an iron for washability that lasts through many holidays.
Practice on scrap fabric first. Confidence comes with repetition and patience.
Step 12: Assemble Acorn Cap Candles

Tiny candles in acorn caps delight guests up close. These acorn cap candles scattered along the runner add whimsical detail.
Fill cleaned acorn caps with melted wax and a short wick. They burn briefly but charm completely, perfect for handmade holiday accents.
Make extras; they disappear fast as conversation pieces. Guests will ask how.
Step 13: Create a Corn Husk Wreath
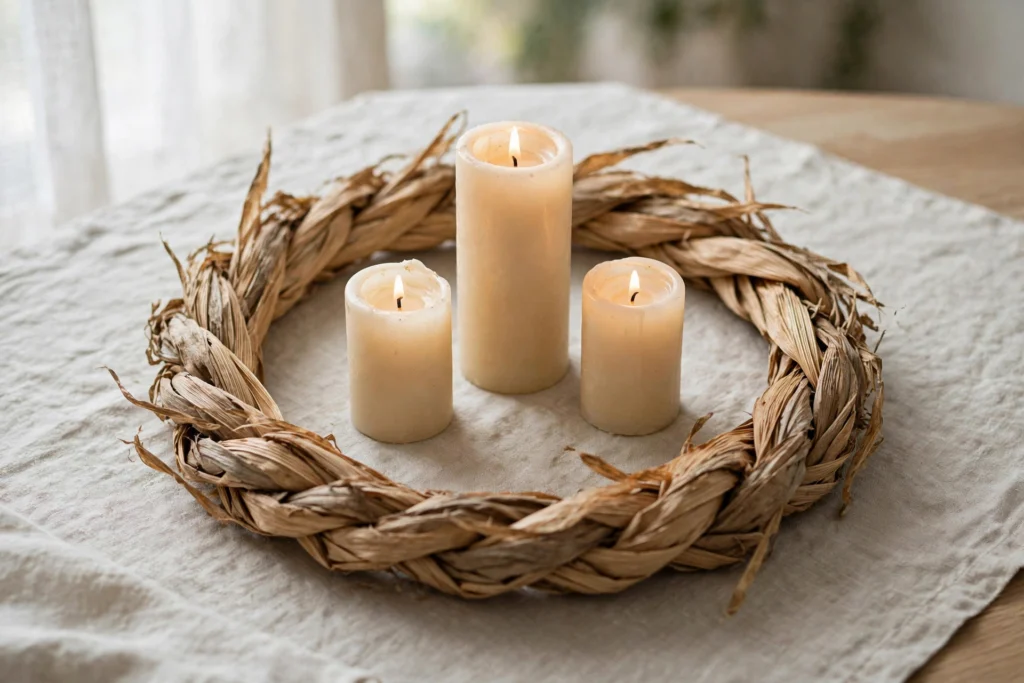
A wreath need not hang on a door. This corn husk wreath laid flat becomes a beautiful charger under centerpieces.
Soak husks until pliable, then weave around a wire frame. The natural texture and color suit Thanksgiving perfectly.
Use it as a base for candles or bowls. Versatility makes it worthwhile.
Step 14: Fold Origami Turkey Placeholders
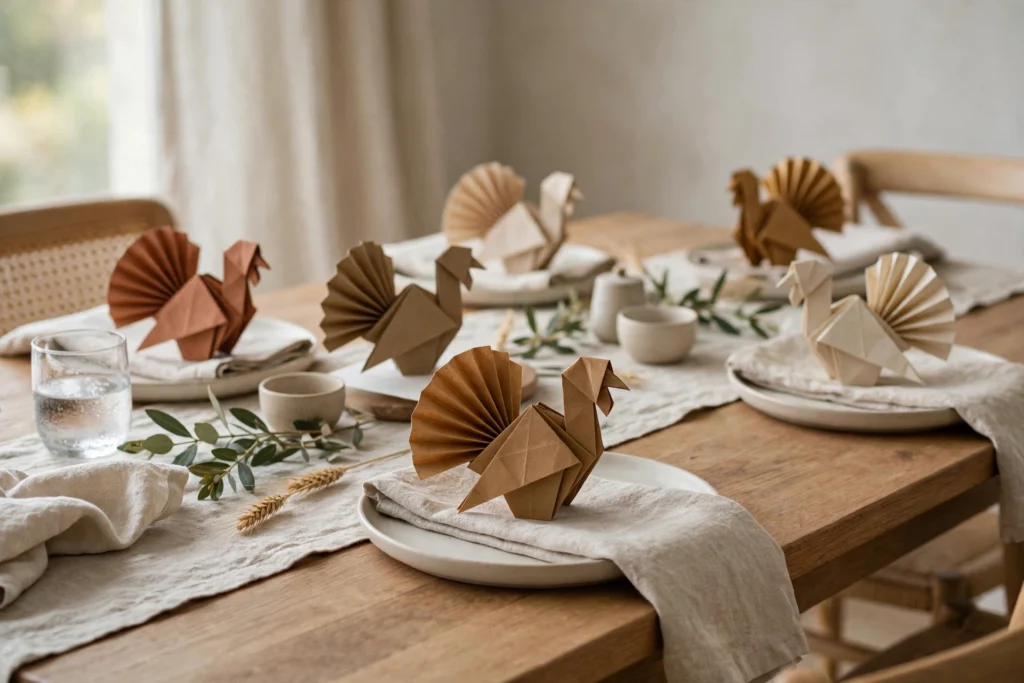
Paper folding entertains and decorates simultaneously. Origami turkey placeholders at each setting spark smiles and conversation.
Follow simple online tutorials with brown and orange paper. Even beginners manage charming results within a few tries.
Write guest names on the bodies. Functional art at its finest and most fun.
Step 15: String Dried Orange Slices
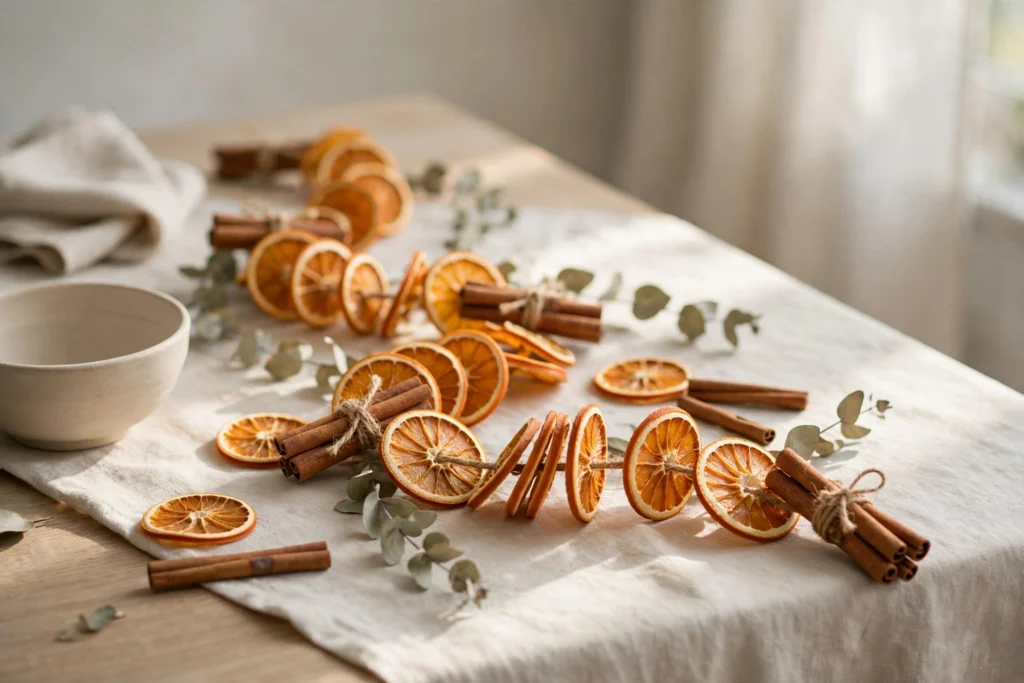
Citrus brings color and scent to holiday decorating. A garland of dried orange slices glows beautifully against candlelight.
Slice oranges thin and bake low until completely dry. String on twine with cinnamon sticks for fragrance and visual rhythm.
They last for years if stored dry. Make extra for gifting to friends.
Step 16: Display Your Handmade Collection

The final step is simply arranging everything together. Your handmade collection deserves a thoughtful composition that shows off each piece.
Step back and view the whole table from the doorway. Adjust heights and spacing until the arrangement feels balanced and inviting to arriving guests.
Take a photo before guests arrive. You will want to remember this one.
Your Table, Your Story
Every handmade piece carries a memory of making it. These diy thanksgiving centerpiece ideas prove that the most meaningful decorations come from your own hands.Start with one project that excites you most. For broader table inspiration, browse our thanksgiving table decor ideas to complement your handmade creations beautifully.